Chest-Supported Row: Machine & Dumbbell Setup Guide
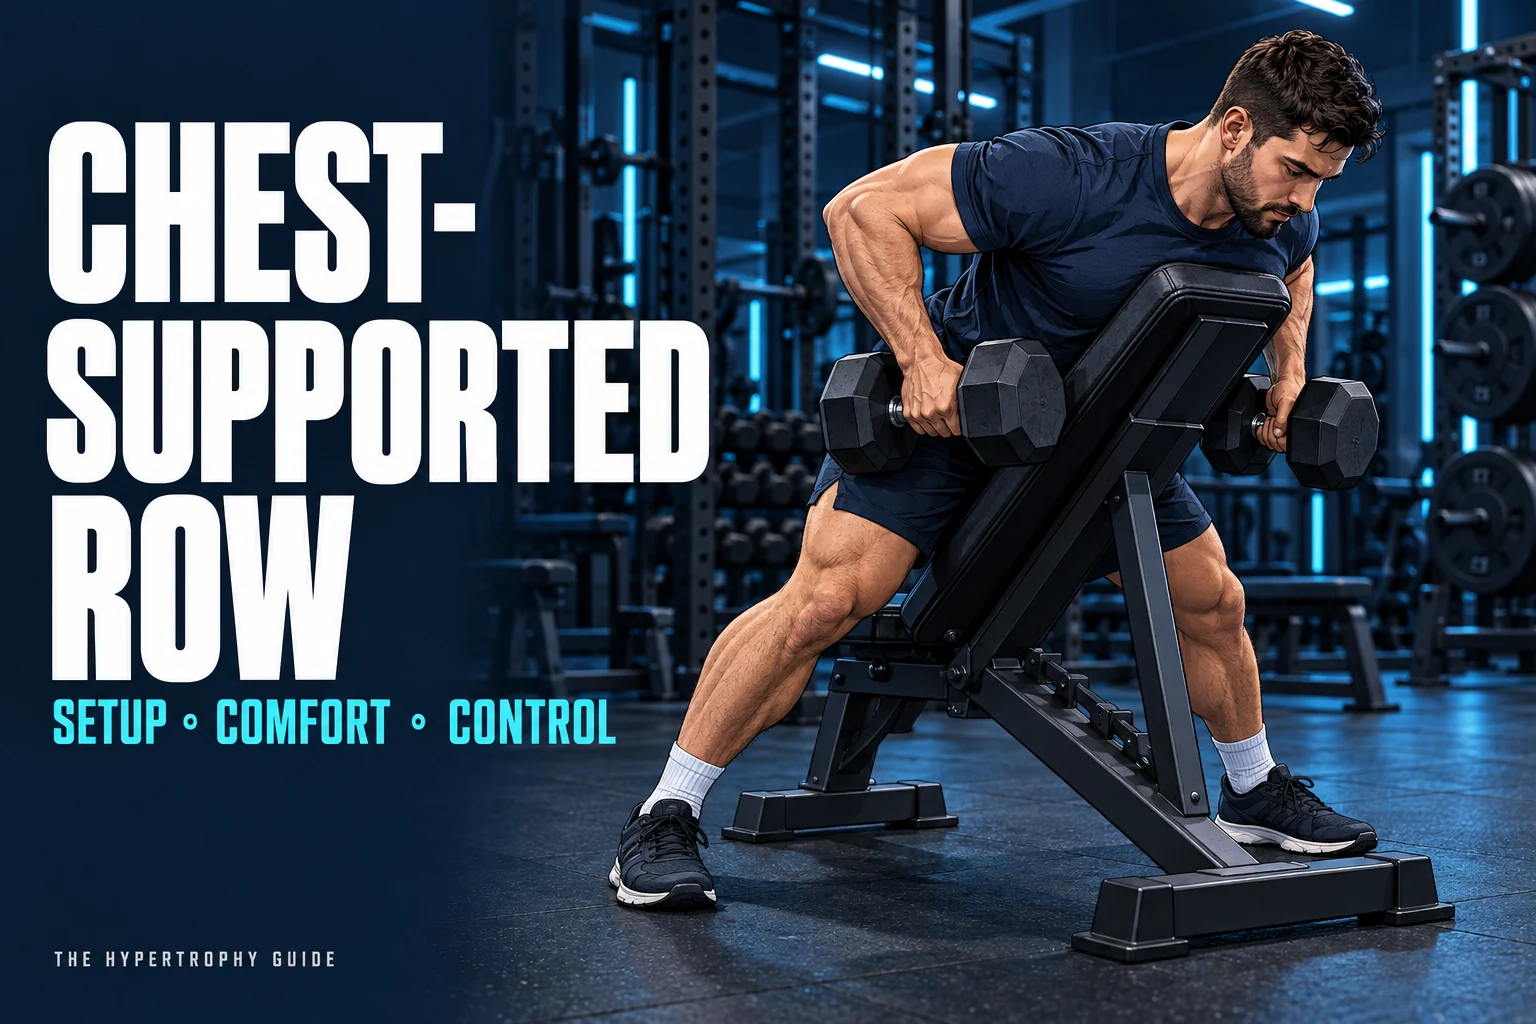
A chest-supported row lets you pull while your torso rests against a pad or incline bench. Its practical advantage is support: you can give more attention to the row and less to maintaining an unsupported torso position. The setup still needs to fit your body.
Set the pad or bench so you can breathe comfortably, reach forward and move the weights without obstruction. Keep your chest in contact as you pull, allow the shoulder blades to move, and stop before you need to lift away from the support. Start with 2–3 working sets of 8–12 reps, around two reps in reserve, and roughly two minutes of rest. Adjust the prescription to your wider program.
What muscles does the chest-supported row work?
The lats and rear deltoids contribute to moving the upper arms, while the middle trapezius and rhomboids help move the shoulder blades. Your elbow flexors bend the arms and your hands hold the load. The relative demands change with the machine, grip and arm path.
Chest support does not turn the row into an isolation exercise or remove the need to control your body. It also does not establish that the exercise is injury-proof or eliminates loading through the lower back.
Use it as a horizontal pull alongside a lat pulldown. For the weekly structure, see back training for muscle growth.
Machine, T-bar or dumbbells?
| Version | Practical advantage | Main setup check |
|---|---|---|
| Pin-loaded machine with a chest pad | Select the load with a pin; no loose plates or dumbbell pickup. | Seat and pad settings allow a comfortable reach and finish; the available weight increments suit your progression. |
| Plate-loaded machine with a chest pad | A supported option when its handles and movement path fit you well. | Check seat height, pad pressure and how you start and finish the set before loading the machine. |
| Chest-supported T-bar machine | A supported rowing option with machine-specific handle choices. | Foot position, pad pressure and access to the start/finish supports. |
| Dumbbells on an incline bench | Each arm can follow its own path using common gym equipment. | Weights clear the floor, bench and frame throughout the rep. |
These are alternatives, not a ranking. A well-fitting machine may be simpler to use; dumbbells may give you a more comfortable path. The dumbbell weight and a machine’s displayed load are not directly comparable.
The chest-supported row I actually prefer
Alexander Kekec Larsen — personal training experience
I have trained with bent-over rows, Pendlay rows, seated cable rows and different plate-loaded and selectorized machines. Given the choice, my first pick would be a pin-loaded machine with a built-in chest pad and an adjustable seat, followed by a plate-loaded version that fits me well.
What I like is the stability. Compared with an unsupported seated row, I spend less attention on bracing my torso and more on the pull. I also find it easier to let my shoulder blades move apart during the lowering phase. Depending on my setup and focus, I feel that stretch more in my upper back or lats. That is how the movement feels to me, not proof of greater muscle growth.
The dumbbell version on an incline bench has never really clicked for me. I have tried it several times, but I find the setup awkward and fiddly. If that were my only chest-supported option, I would personally choose a regular seated cable row instead.
I have not personally had lower-back problems with seated rows. When I worked as a personal trainer, however, some clients found their lower back uncomfortable or limiting during rows. A supported machine is an option I would consider in that situation; I am not claiming that I tested it with those clients or that it treats back pain.
I enjoy trying ideas from research, but I also want an exercise I can comfortably keep practising. If a variation consistently feels awkward, I would rather find a suitable alternative than force it. For me, chest support is useful when the whole setup works.
How to set up a chest-supported row machine
- Start light. Learn the machine’s handles, adjustments and release mechanism before a challenging set.
- Adjust your seat and feet. Establish a secure position from which you can reach the handles without being pulled off the support.
- Set the chest pad. Find comfortable contact that supports the torso without restricting breathing. Avoid a position that drives a pad edge into your ribs or abdomen.
- Test both ends. At the start, let your arms reach and shoulder blades move forward. At the finish, check that the handles do not hit the pad or force an awkward shoulder position.
- Record the settings. Seat height, pad position and handle choice make your next session easier to reproduce.
Test a few controlled repetitions using the machine’s intended adjustments. If its geometry still does not fit, choose another variation.
How to set up a dumbbell chest-supported row
An incline bench around 45 degrees can be a starting point, but the angle is not a scientifically established sweet spot. Your bench, arm length, dumbbells and preferred arm path all affect the setup.
- Secure the bench. Check that its adjustment is locked and that it will not slide or tip in your planned position.
- Find comfortable support. Place your chest against the backrest, keep your feet secure and let your head remain in a comfortable position rather than craning upward.
- Check dumbbell clearance. Let your arms hang for the start of the rep. The weights should clear the floor and bench frame, then pass the bench as you pull.
- Choose a manageable load. You need to get into position and finish the set under control, not only perform the middle repetitions.
If the dumbbells hit the floor, try a different approved bench setting or another suitable bench. Do not improvise an unstable platform to create clearance. If the bench obstructs your elbows or the weights, a machine or seated cable row may fit better.
Record a meaningful bench-angle change in your log; the same weight and reps then describe a different setup.
How to perform a repeatable repetition
- Begin with a controlled reach. Allow the arms to extend and the shoulder blades to move forward around the rib cage. Keep contact with the support.
- Pull with a comfortable elbow path. Let the upper arms and shoulder blades move together. Do not turn the rep into a separate exaggerated shrug followed by a curl.
- Finish at your controlled endpoint. Stop before you need to lift your chest, throw the weights up or force the shoulders into an uncomfortable position.
- Return under control. Let the arms lengthen and shoulder blades move forward again. Avoid dropping the load into the bottom.
You do not have to hold your shoulder blades squeezed together throughout the set. Nor must a dumbbell touch your ribs on every rep: your proportions, bench and chosen path affect the endpoint. Use a consistent reach and finish that you can reproduce.
Two habits I often notice in rows are holding the shoulder blades rigidly in place and using so much weight that the whole body throws the load back. I look for a controlled reach, a repeatable pull and a controlled return. A modest, deliberate torso movement in a cable row is a different choice from uncontrolled momentum; on this chest-supported variation, keep the chest in contact with the pad.
Which grip and elbow path should you use?
A neutral grip with the elbows reasonably close to the torso is a useful starting option. An angled or wider grip may allow a different path. Keep wrists comfortable and avoid forcing the elbows outward to copy someone with a different build.
Changing the path changes the task; it does not isolate one back muscle. Studies of rowing and pulldown variations have examined muscle activity, but an acute activation reading is not proof that a grip will produce superior long-term growth.[1]
What if the pad hurts or breathing feels restricted?
Stop the set and adjust the position. More support is not useful if the pressure prevents comfortable breathing or creates pain. If reasonable adjustments do not solve it, use another row.
Sylvia has found that some clients dislike a chest pad pressing against the chest or stomach. She often uses a bench at a cable tower, where a controlled forward reach can feel more comfortable. The practical lesson is to choose the row that fits the person, rather than insisting on chest support.
Sets, reps, rest and progression
My own working sets are usually in the 8–12 rep range, most often finishing with 1–3 reps in reserve (RIR). I have also taken sets to 0 RIR. Personally, I find it easier to keep my technique consistent near failure on a well-fitting supported machine. That is my experience, not a reason to treat every setup as risk-free or take every set to failure.
Try 2–3 working sets of 8–12 repetitions if that fits the pulling volume already in your program. Start around two reps in reserve, meaning another two reps with the same support contact, reach and finish. Rest approximately two minutes, and take longer when needed to repeat the planned set.
These are coaching starting points. Research suggests that training closer to failure generally benefits hypertrophy, while the exact relationship remains uncertain.[2] Chest support does not make it necessary to take every set to failure.
Use a simple progression rule: once you reach the top of your rep range on every planned set with the intended reserve, try the smallest useful weight increase. If the extra load makes you peel away from the pad or cut the reach short, return to the previous load.
For example, 3 × 12 controlled reps at the intended effort is a clearer reason to increase weight than one set of 12 followed by two much shorter sets.
Place the row in an upper/lower routine or full-body plan by replacing your current rowing slot, rather than automatically adding sets.
Common chest-supported row mistakes
| Problem | Useful correction |
|---|---|
| Chest lifts off the pad as the set gets harder | Reduce the load or end the set at the last rep that meets your chosen standard. |
| Dumbbells hit the bench or floor | Recheck the setup and clearance before adding weight. |
| Shoulder blades stay pinned together | Allow a controlled reach on the return instead of holding a permanent squeeze. |
| Grip ends the set first | Consider lifting straps after checking your handle and grip. |
| Every rep becomes a smaller movement | Use the same start and finish as your earlier repetitions when deciding whether another rep counts. |
Chest-supported row FAQ
Is it better than a seated cable row?
Neither is the universal winner. Chest support may simplify torso control; cable rows may offer a more comfortable reach or easier setup. Choose the version you can perform and progress consistently.
Should the bench be at 30 or 45 degrees?
Try a position that provides secure chest contact and enough weight clearance. Forty-five degrees is a starting suggestion, not a required angle. Keep your eventual choice consistent when tracking progress.
Can I do it if my lower back gets tired during rows?
Support may make the exercise more manageable when holding an unsupported position is the limiting task. It is not a guarantee of comfort or a treatment for back pain. Pain is a reason to reassess the exercise, not simply add a pad and continue.
Why do I still feel my biceps?
They help bend your elbows during the row. Some arm effort is expected. Check your load and movement rather than trying to eliminate all sensation in the arms; straps assist grip, not the elbow-flexion task.
Use the back-training guide to combine this row with your other pulling work. For a complete starting routine, see the free full-body program.
References
- Lehman GJ, et al. Variations in muscle activation levels during traditional latissimus dorsi weight training exercises: an experimental study. Dynamic Medicine. 2004;3:4. Context for interpreting muscle-activity findings; not a chest-supported-row hypertrophy trial.
- Robinson ZP, et al. Exploring the dose-response relationship between estimated resistance training proximity to failure, strength gain, and muscle hypertrophy: a series of meta-regressions. Sports Medicine. 2024;54:2209–2231.